Quilling Paper Storage and Organization
♥ Marissa is on extended maternity leave. ♥
She looks forward to working with you to create beautiful things upon her return!
Please email SweetheartsandCrafts@gmail.com with any inquiries.
Please note we will not be taking holiday orders for 2020. Thank you for your understanding.
A topic of discussion among quillers which never seems to retire is the best way to pack, organize, and store quilling paper. While there is certainly no "right" way to do this, I have found several methods which work very well for me. I will share my organization style with you, including how I pack my paper for travel, as well as some other interesting styles I have seen from my quilling colleagues.
Your organizational style is going to vary quite a bit depending on what materials are available to you, what kind of space you have for storage, and most importantly HOW MUCH quilling paper you have. Like most beginners, when I first started quilling I had just a handful of paper packs, many of which consisted of mixed colors to get the most variety for my buck. I was able to store everything in one or two plastic jewelry containers... ahhh those were the days.
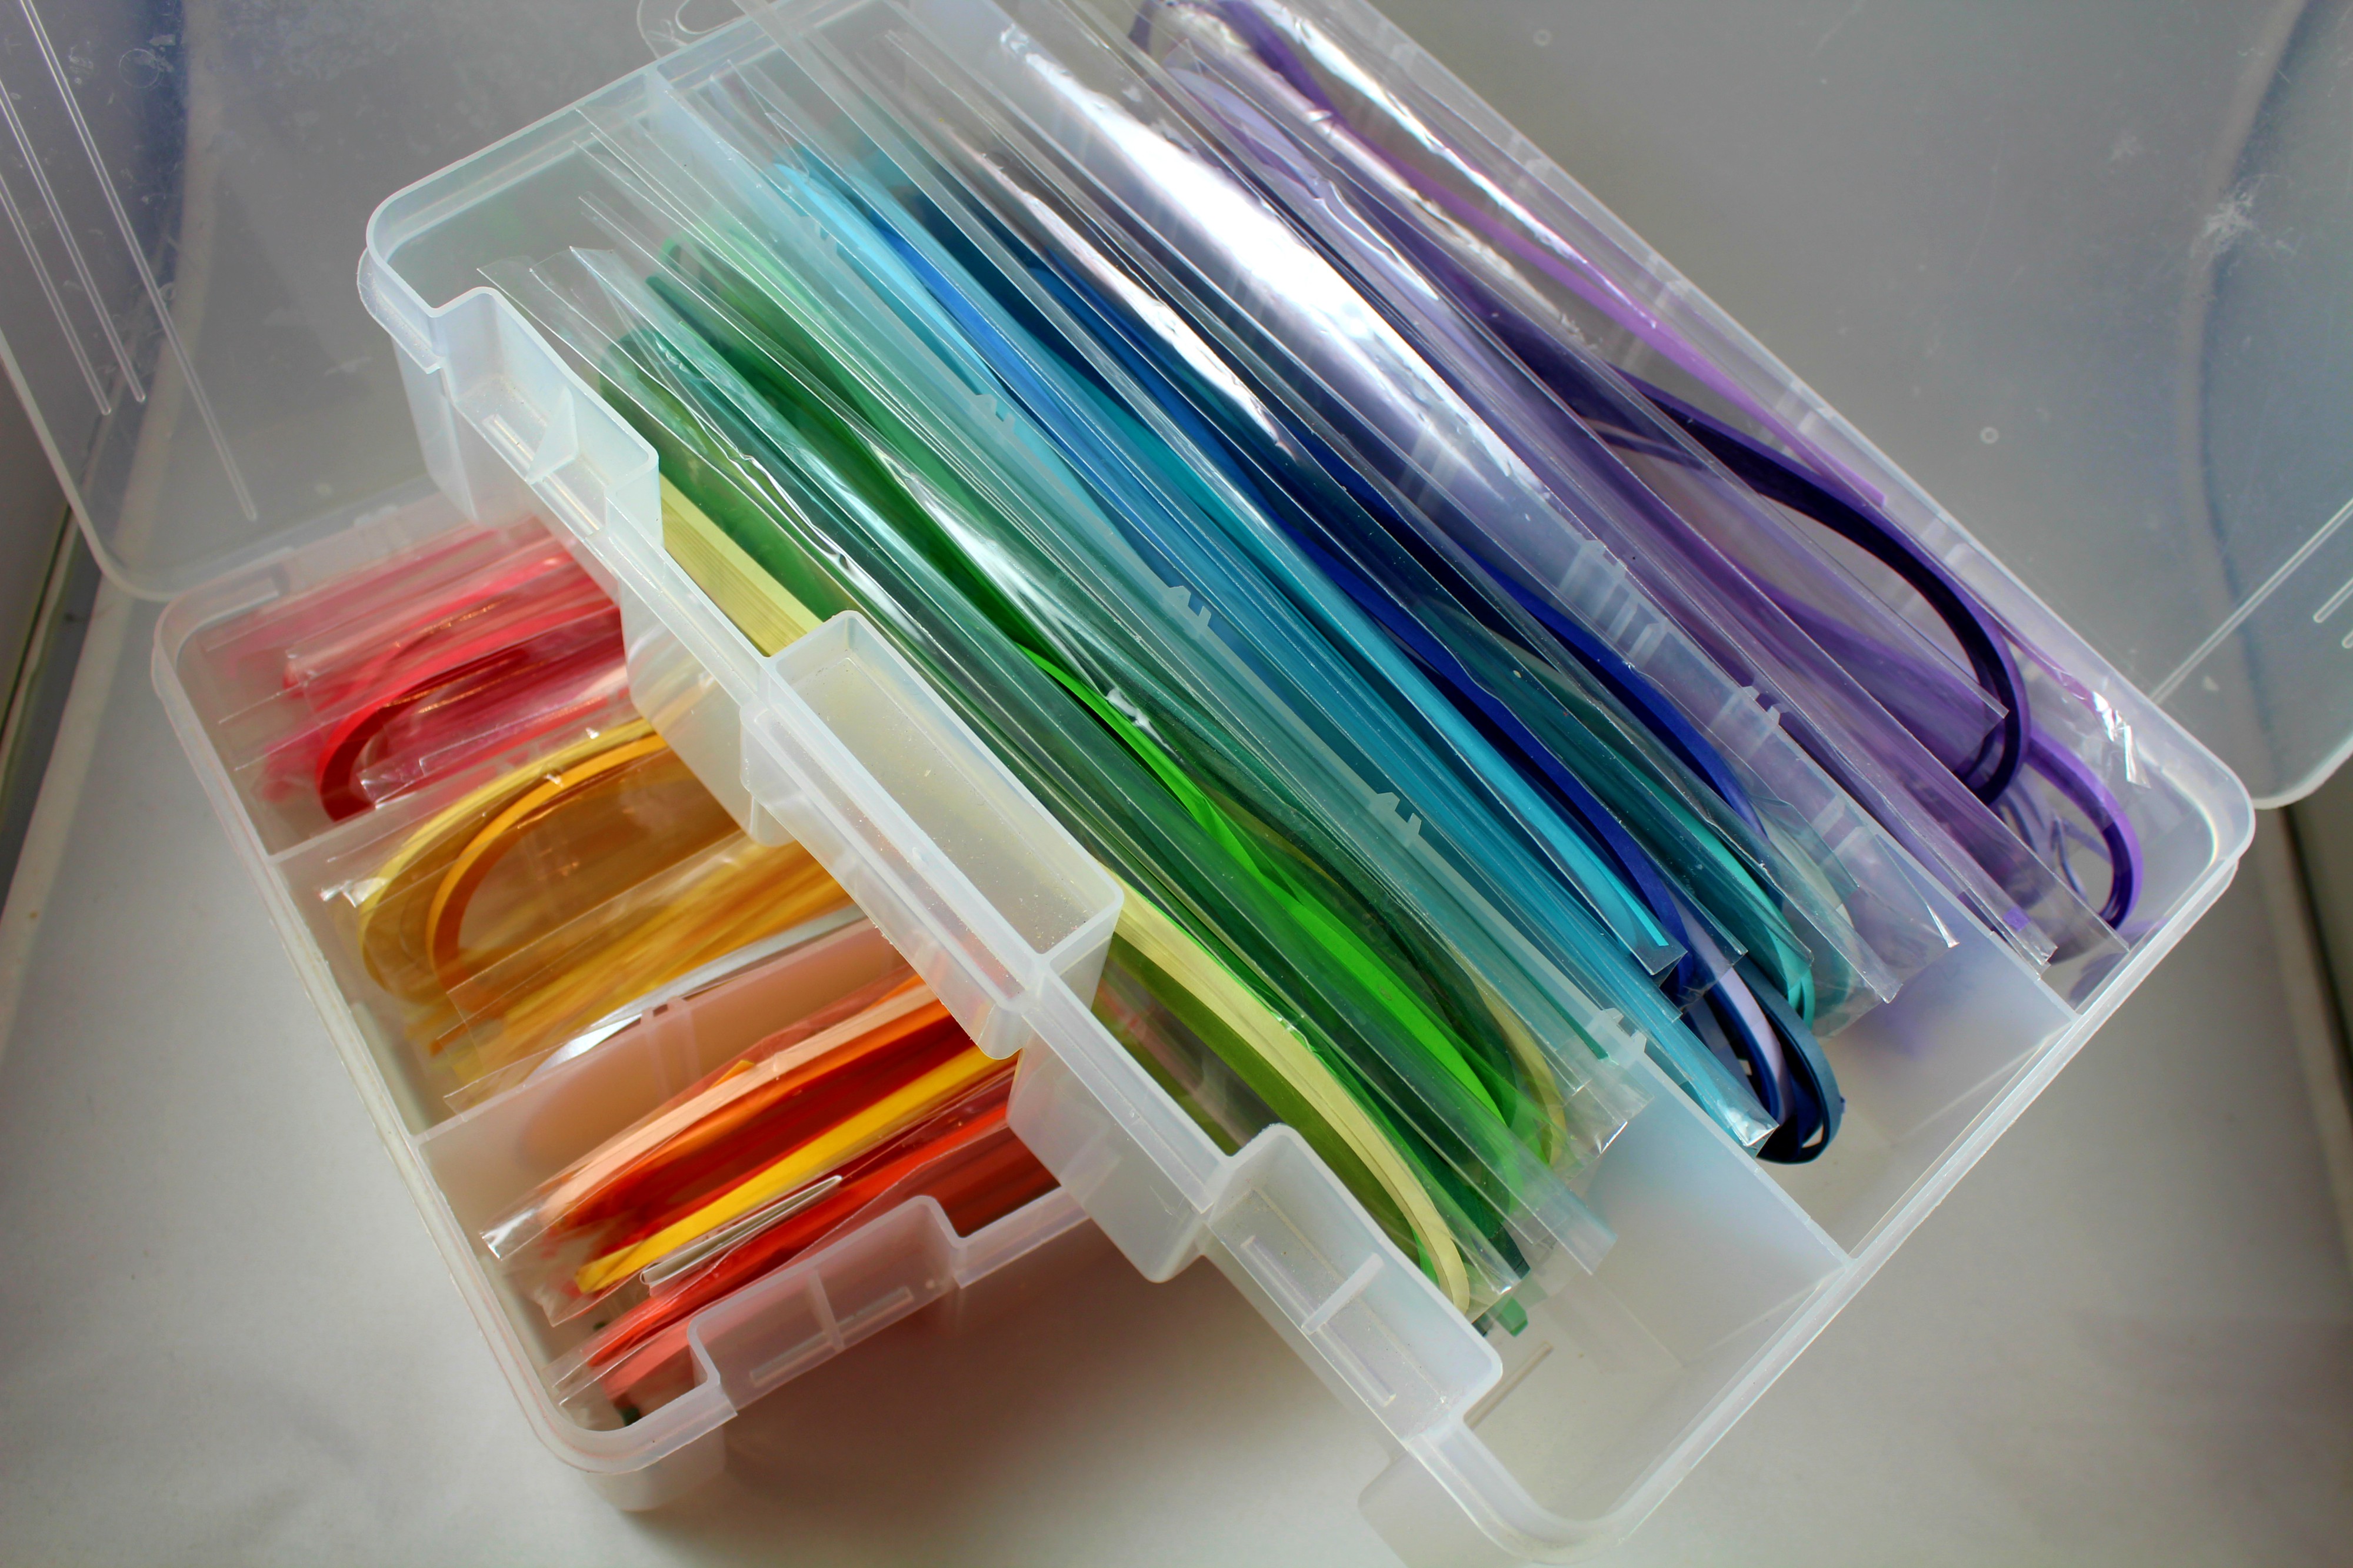
I am still very loyal to my plastic Creative Options containers. As the name indicates, they offer a lot of options with removable dividers so you can organize your paper into sections by size or color. The bins also have smaller dividers which you may use to store your tools, jewelry findings, or scraps of paper.

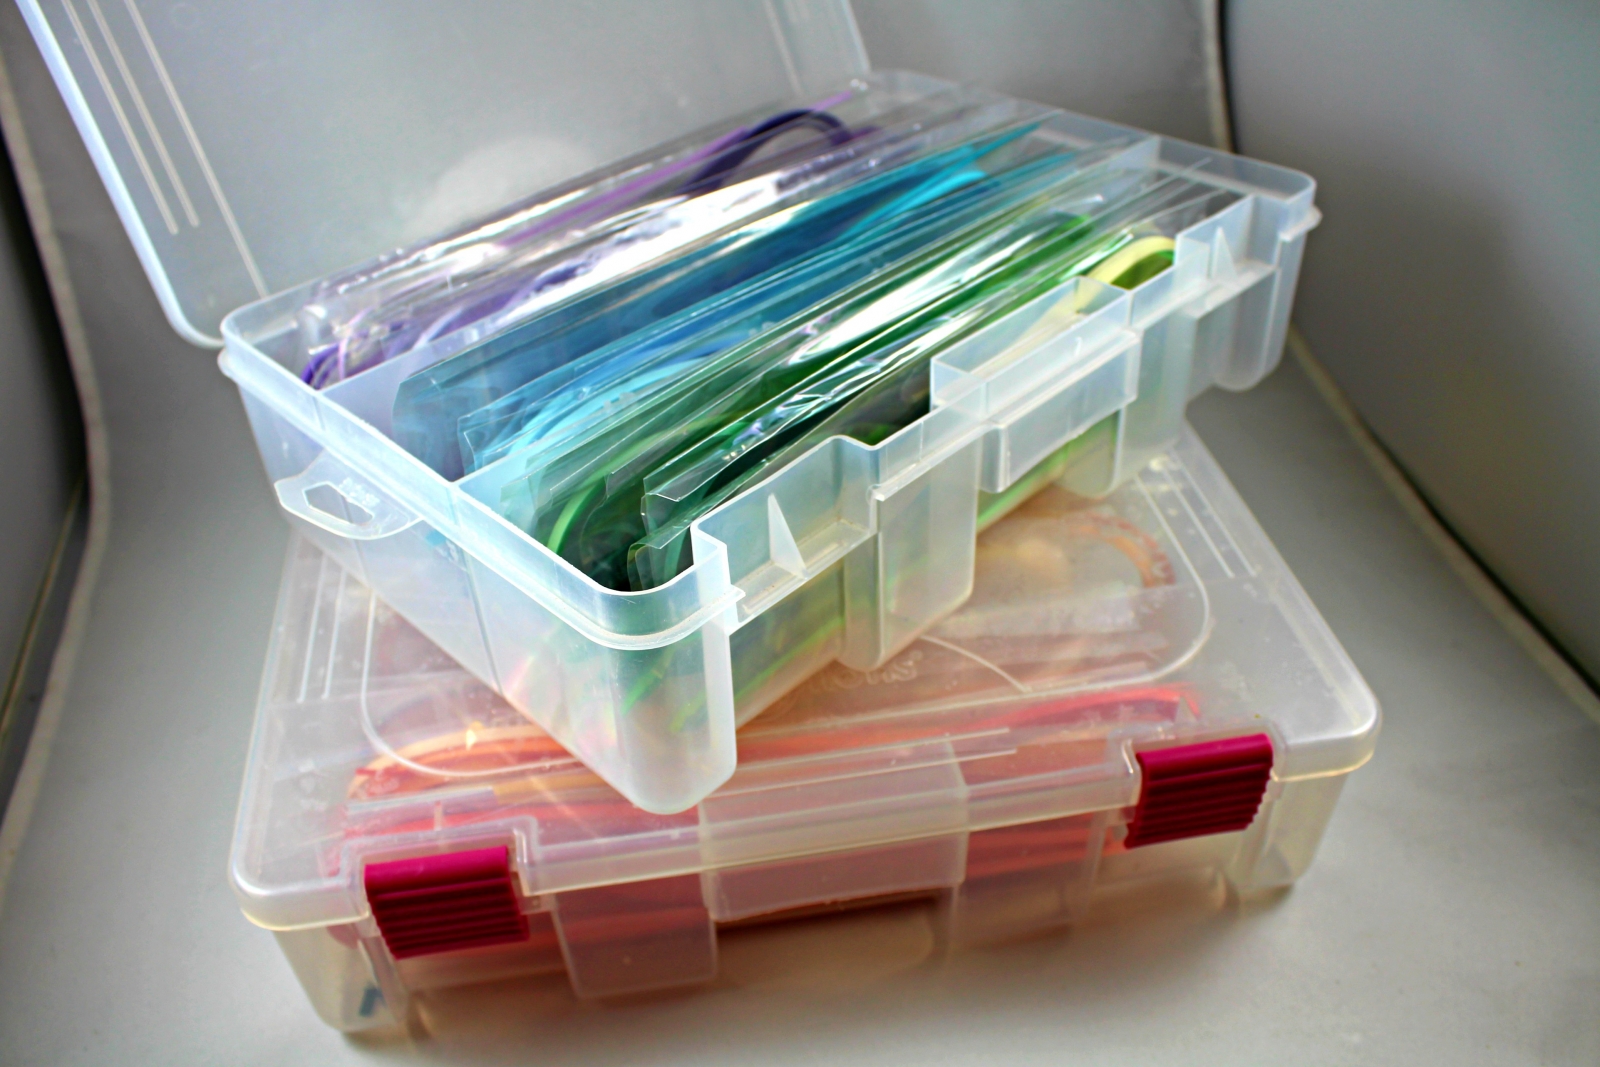
I use these bins for my quilling supplies when I travel. I have literally taken a few around the world and they have never cracked, broken, or failed me.
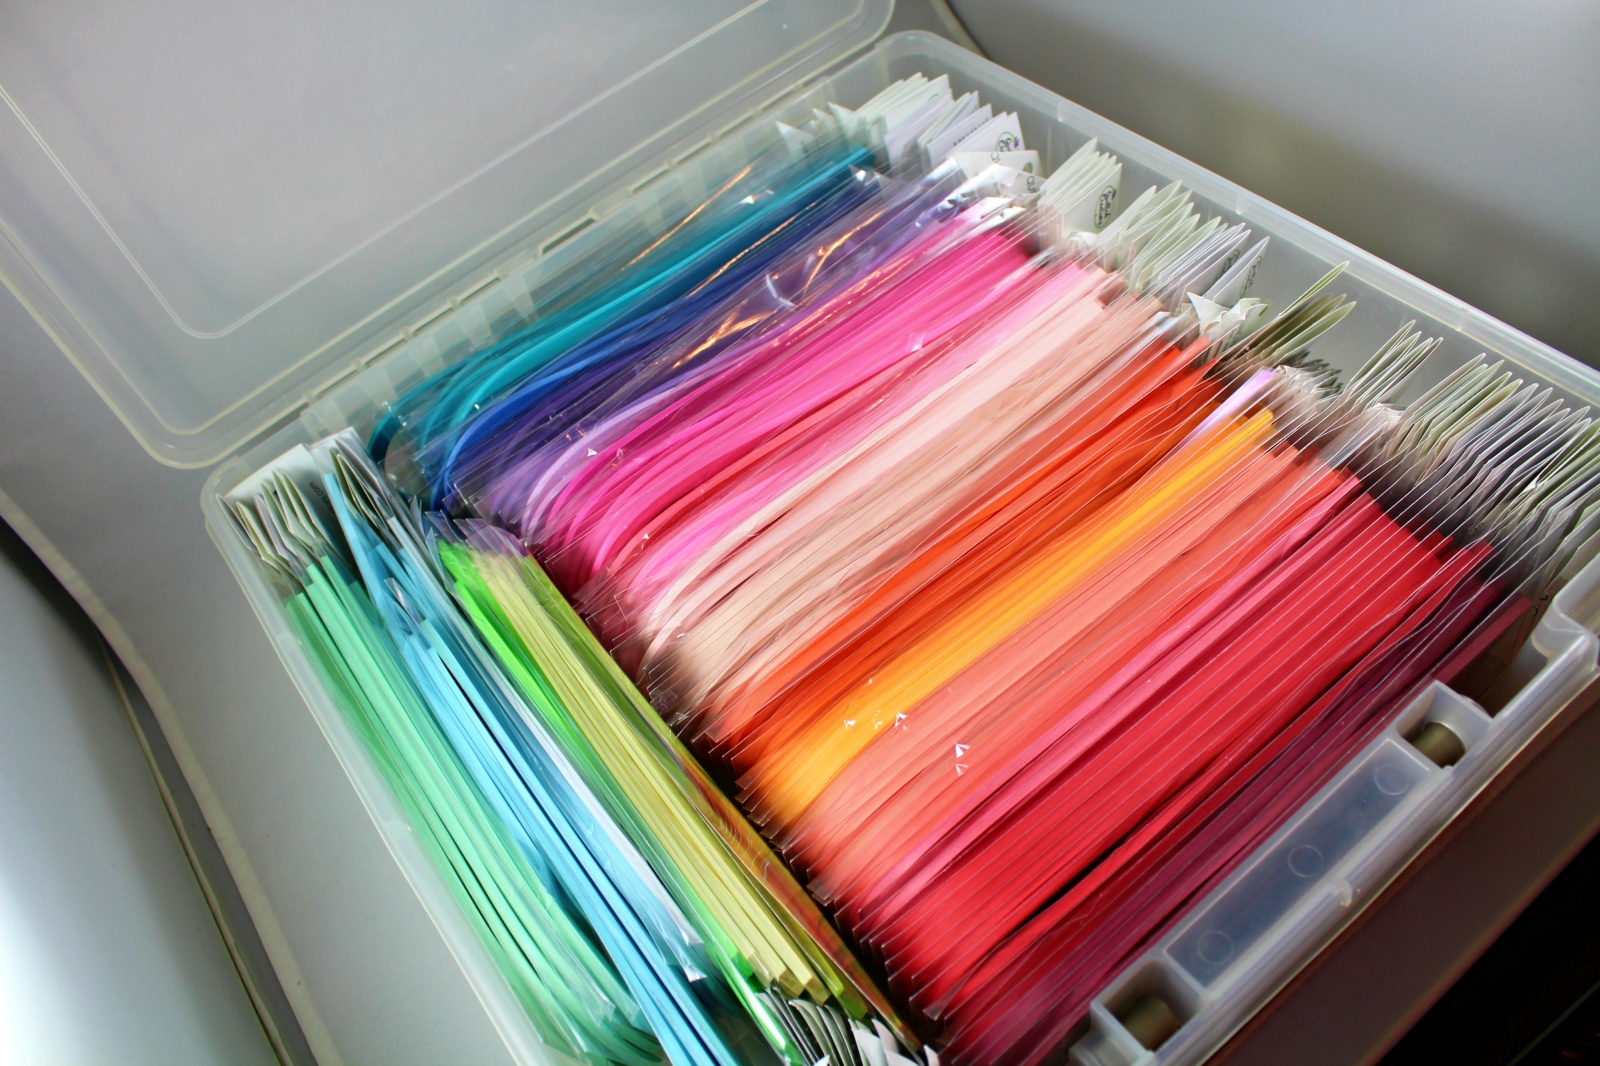
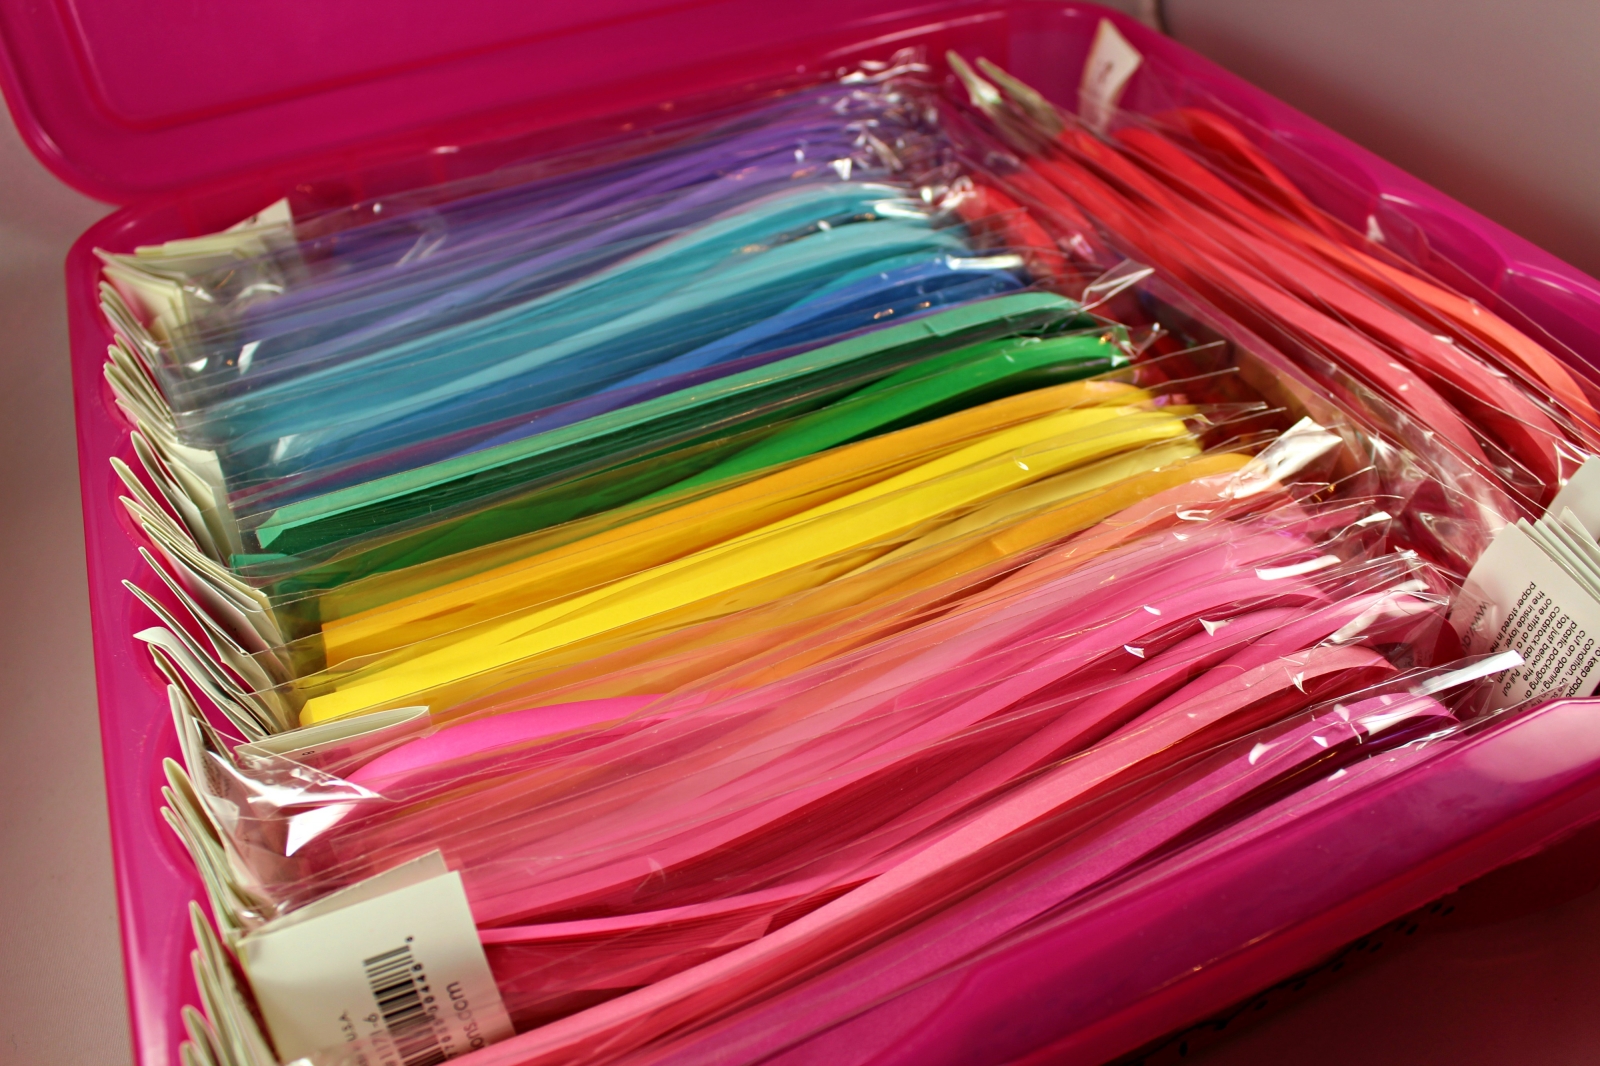
For those of us that do paper quilling for a living or have a healthy paper obsession, at a certain point the smaller storage bins simply aren't going to cut it. I think I collected eight of the smaller bins before realized I HAD to upgrade. I now have over 100 colors of paper, the 4 standard widths of paper in most colors, and multiple packs of each kind of paper; you do the math. I mainly store my paper in large ArtBin Super Satchels and Creative Options Art Boxes. I was actually able to snag a tower of five art boxes at Costco one afternoon for just $20! Problem solved.
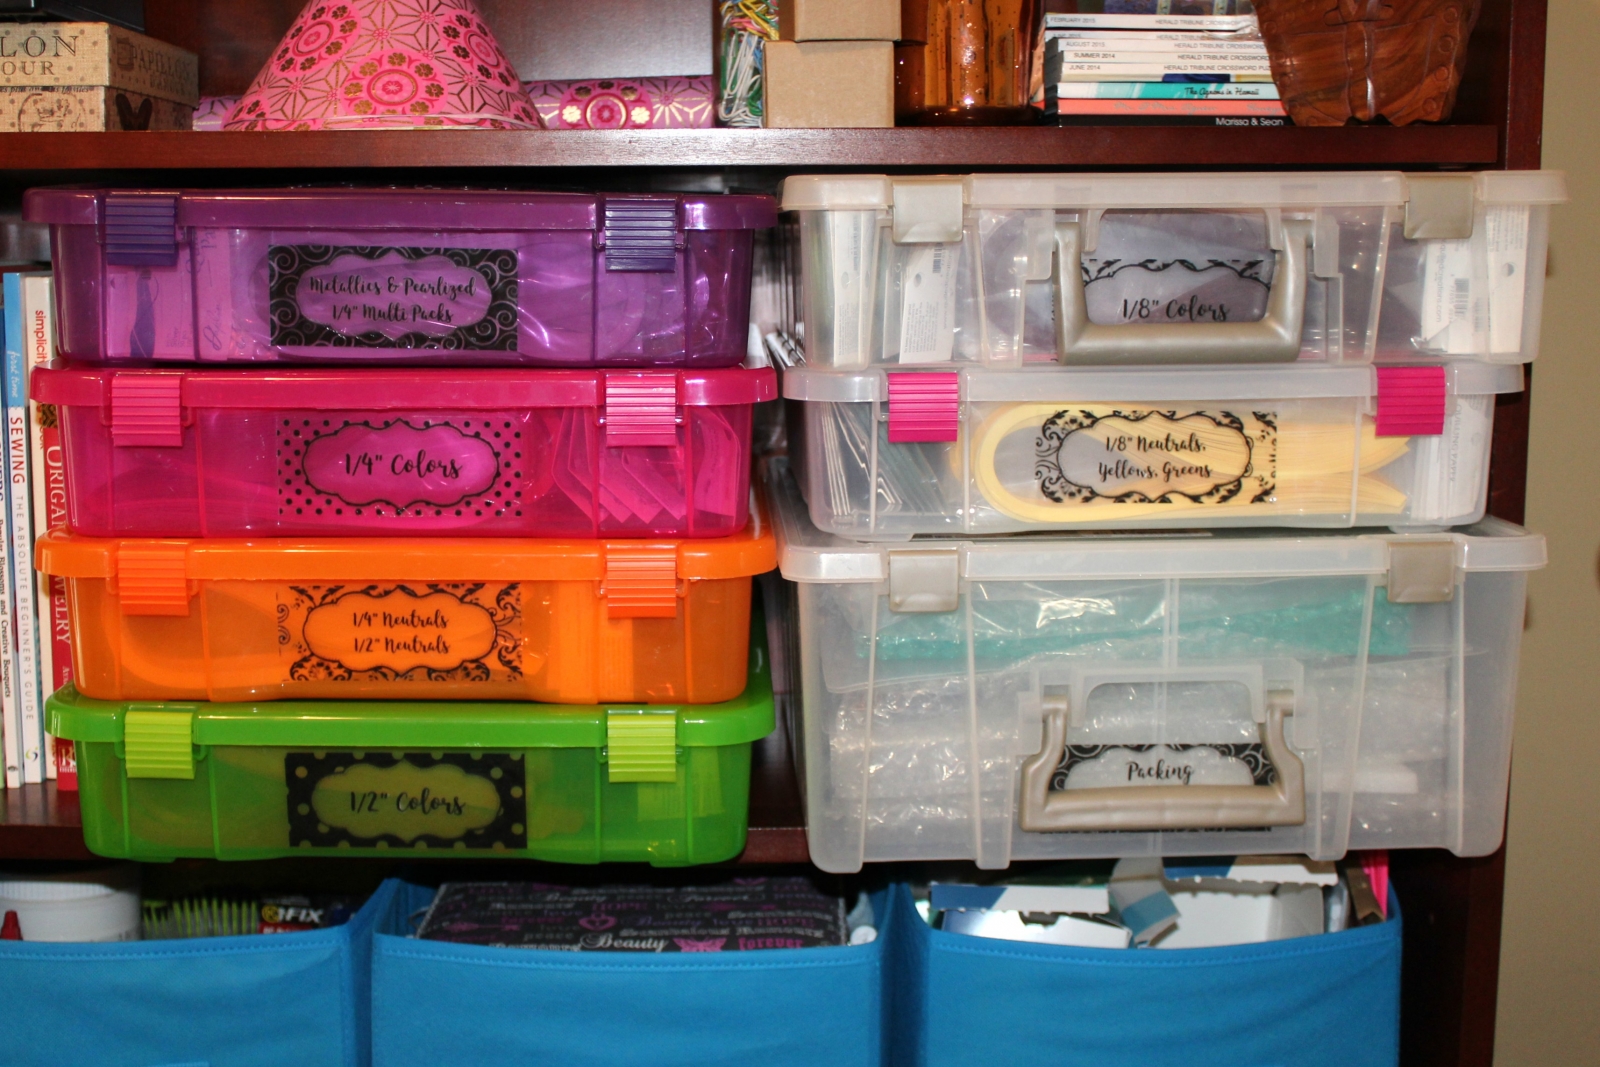
Although the boxes are all different colors I still wanted to label them for easy identification. I gave myself a little project to make my own clear labels rather than printing on sticker paper and ruining the aesthetic appearance of my new boxes. I found a super easy and coherent tutorial to make my own clear stickers with just a printer and packing tape here. I think they turned out great!!
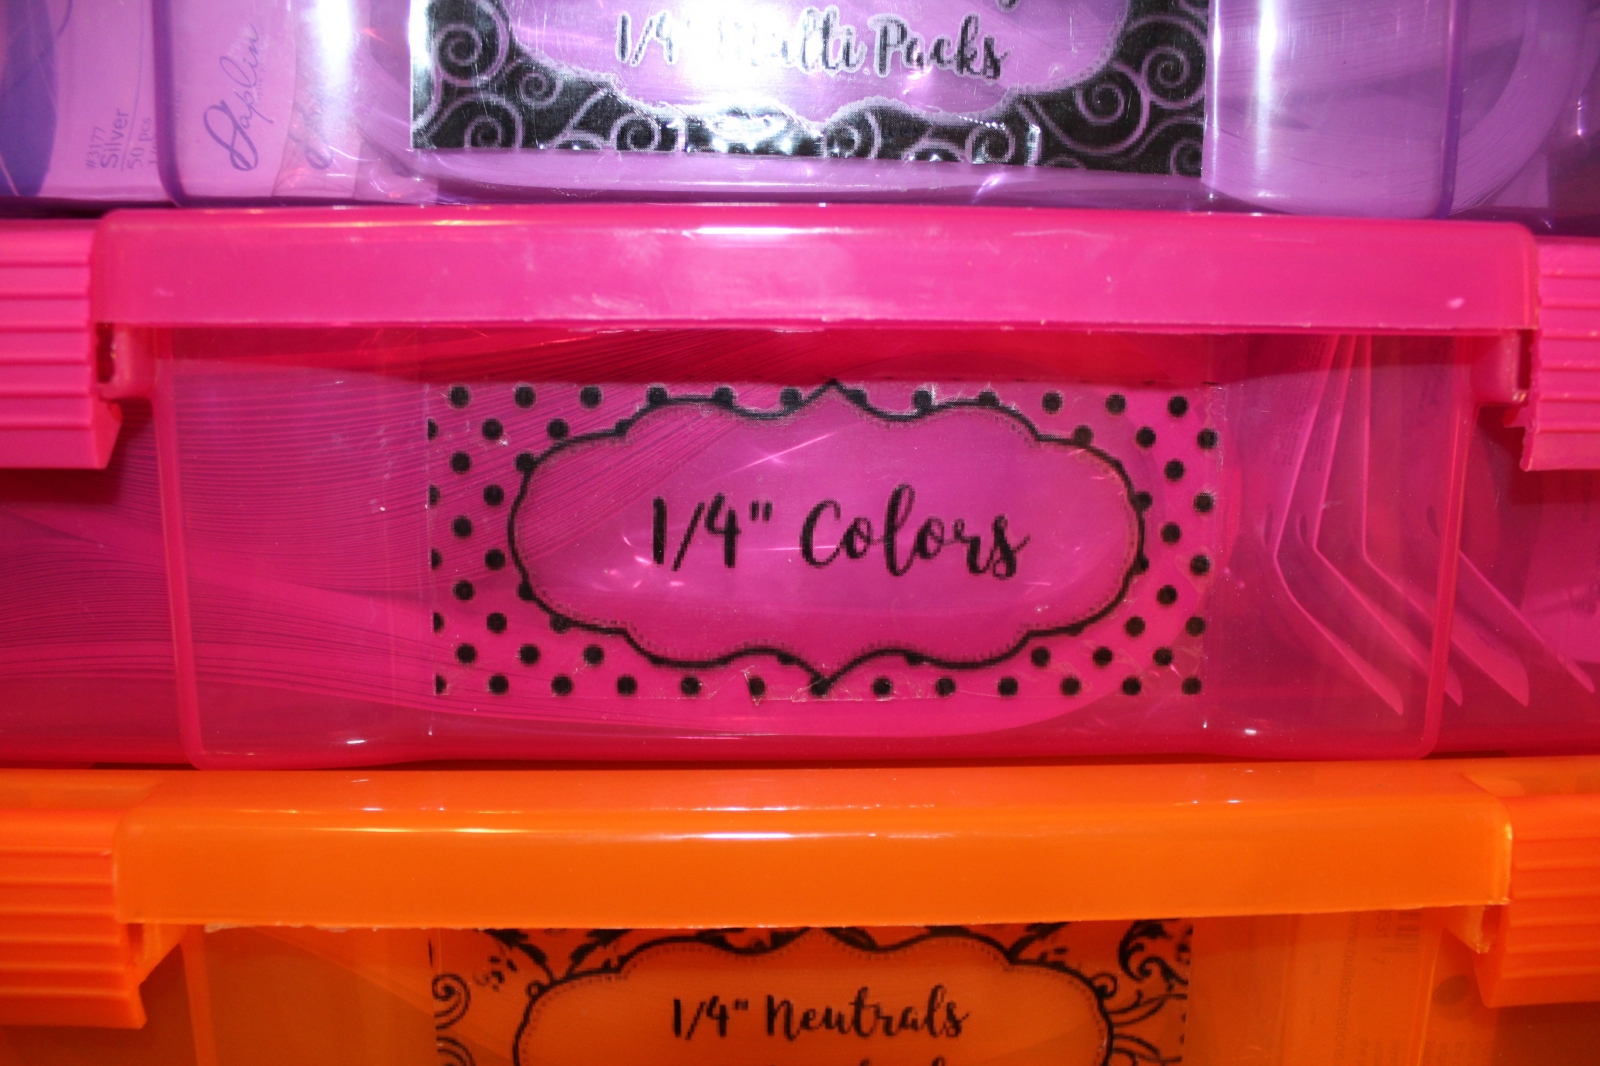
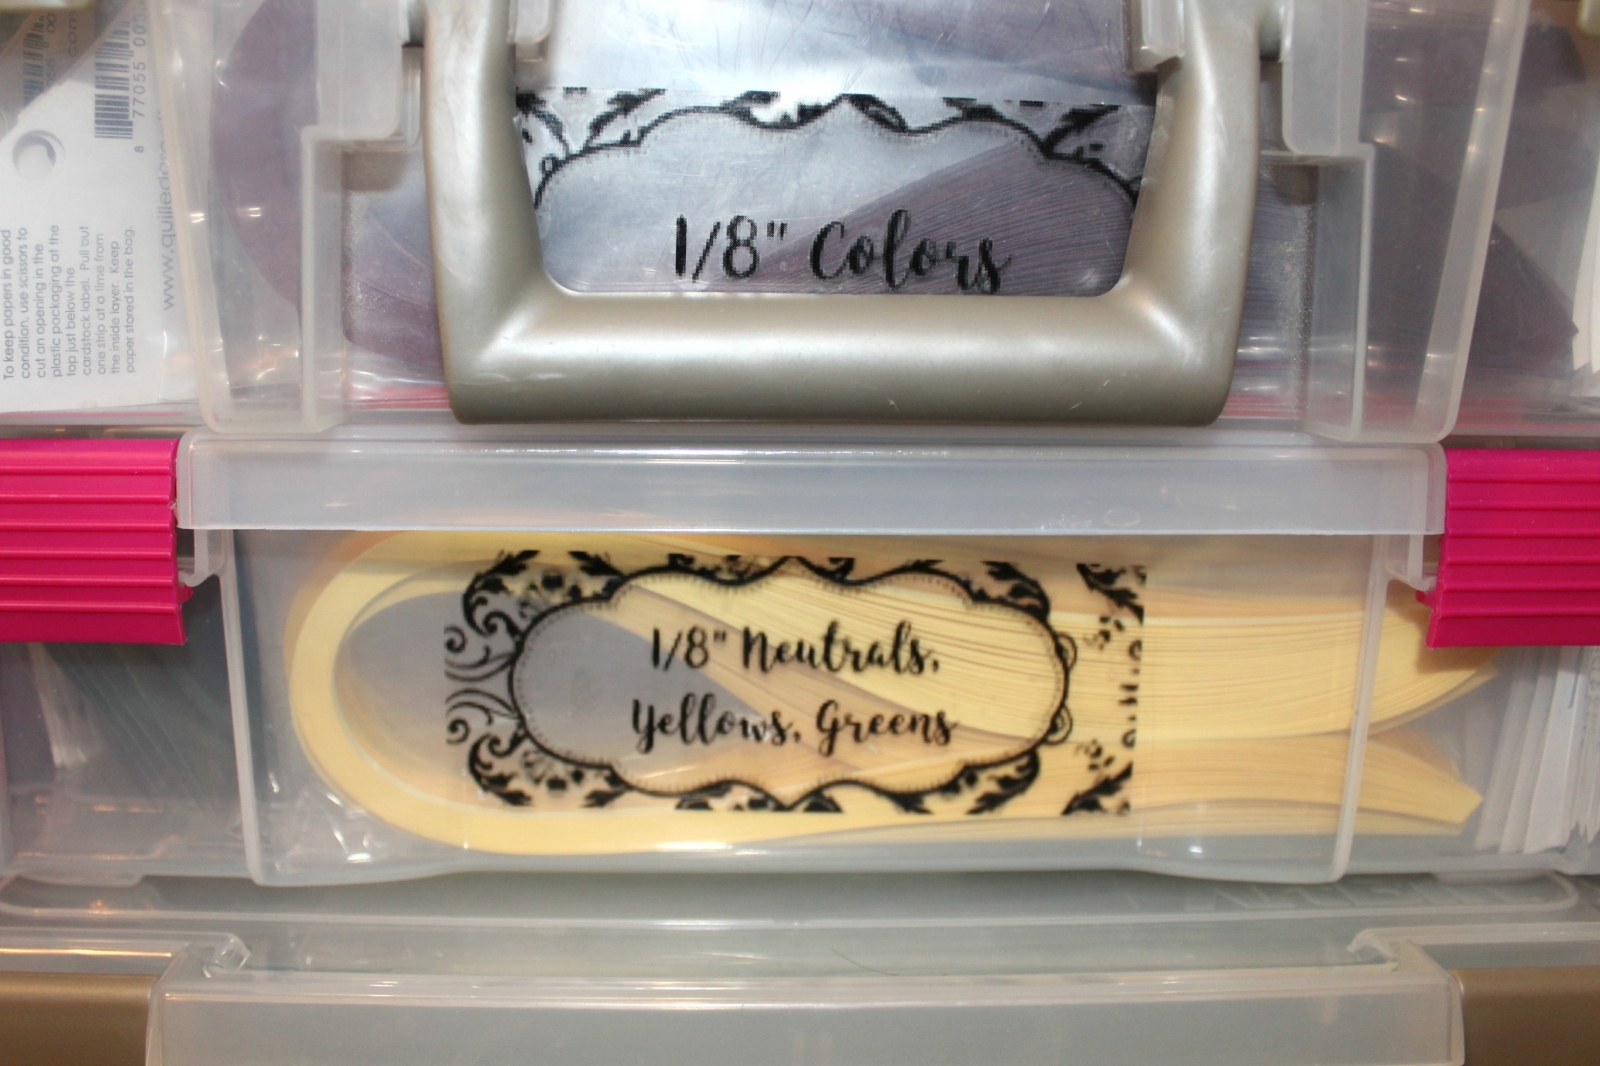
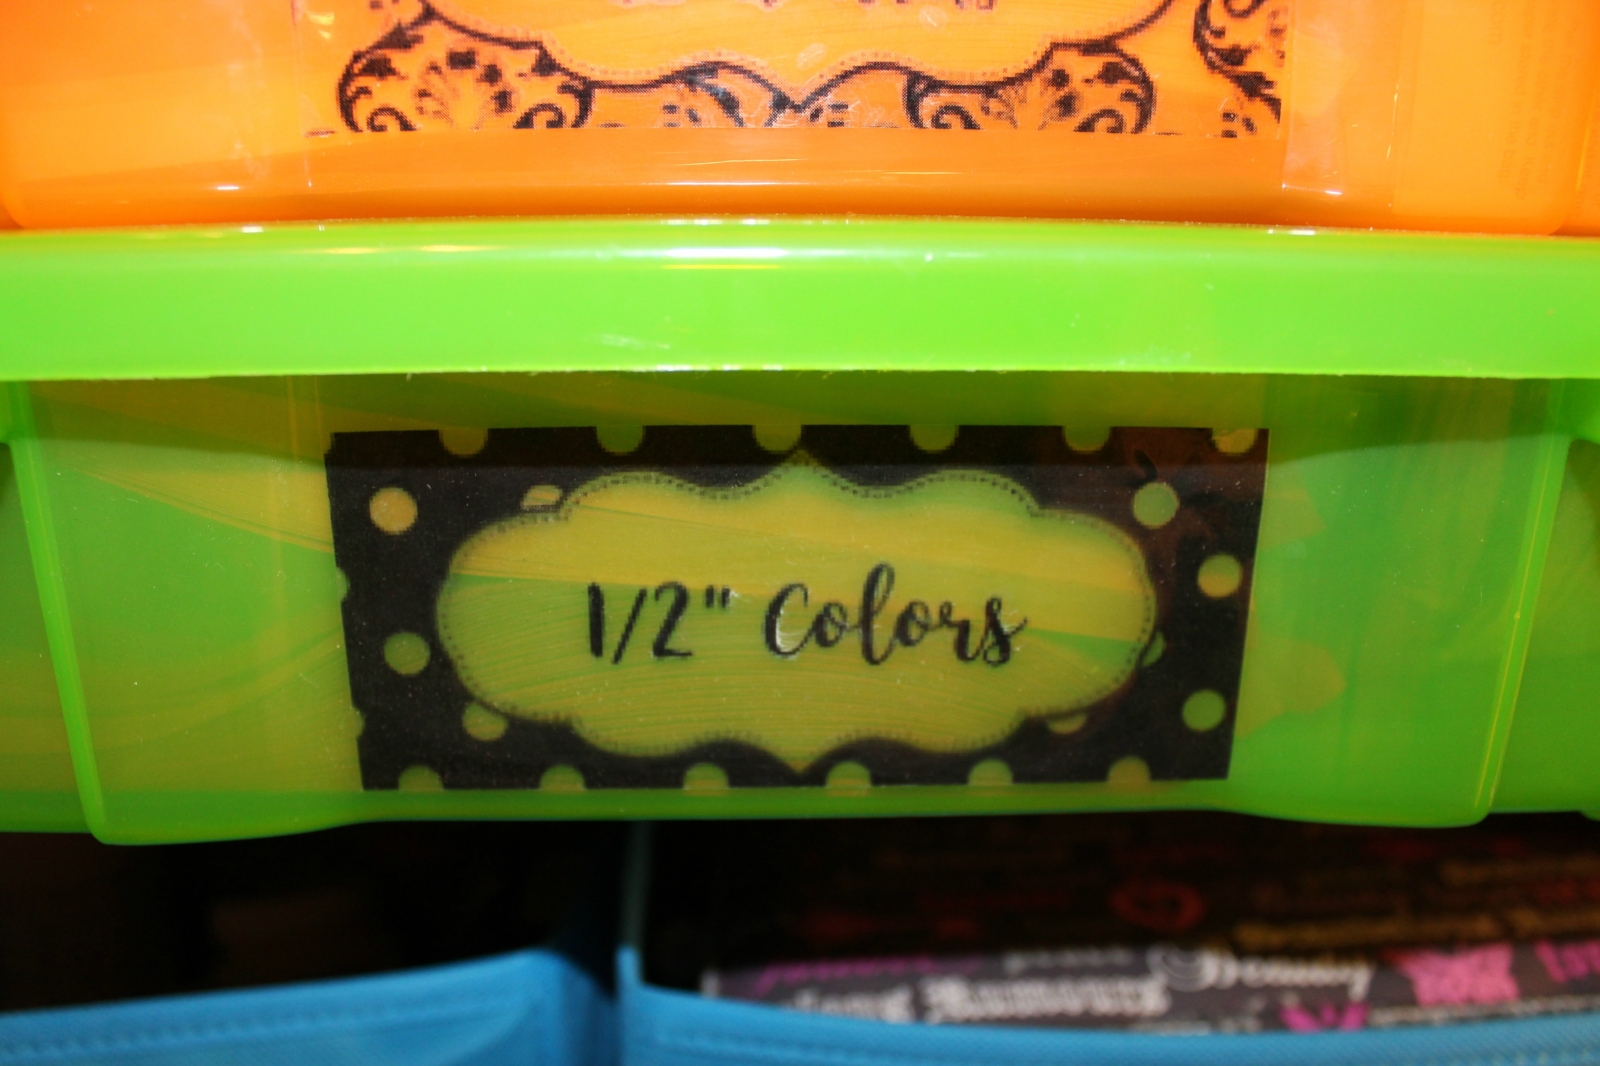
I labeled the boxes according to their contents, allowing me to easily identify what size and colors of paper each box holds. I never have to rifle through different containers to find what I'm looking for. I highly recommend this storage method.
I should also mention that I prefer to keep my paper inside the original plastic sleeve in which it was packaged. I think it helps to protect the paper from dust, humidity or accidentally creasing and wrinkling. It also prevents the paper from getting tangled with other packs of paper and keeps everything clean. Not all brands of paper are packaged the same but most come with a small paper card/tag on the top of the pack to identify the brand, color, and size of paper. When you are ready to use your paper I recommend cutting off the tag rather than tearing it. This creates a clean line which prevents the plastic sleeve from tearing or tattering. If you like, you can place the tag inside the sleeve with your quilling paper to use as an identifier.
There are certainly many other quilling paper storage methods being employed by artists all over the world. Again, your storage needs will be determined mostly by how much paper you have to store. I found all of these to be interesting and effective. I'll start with smaller storage needs.
This first idea is from Erin at Little Circles. Erin makes Culture Pop quilling paper so it's no surprise that she'd have a great storage solution. This one is as simple as can be and you only need a hanger. She suggests using scissors, not your hands, to split the paper on one end for hanging. You can, of course, use two, three, or more hangers as needed!

Image from Craftsy.com
Next is an idea from Tracy Creates. She has taken foam core board and T pins to create an attractive pegboard of quilling paper. By using 1⅝" T pins she says she can fit up to EIGHT packs of 1/8" quilling paper onto each pin. Go Tracy!
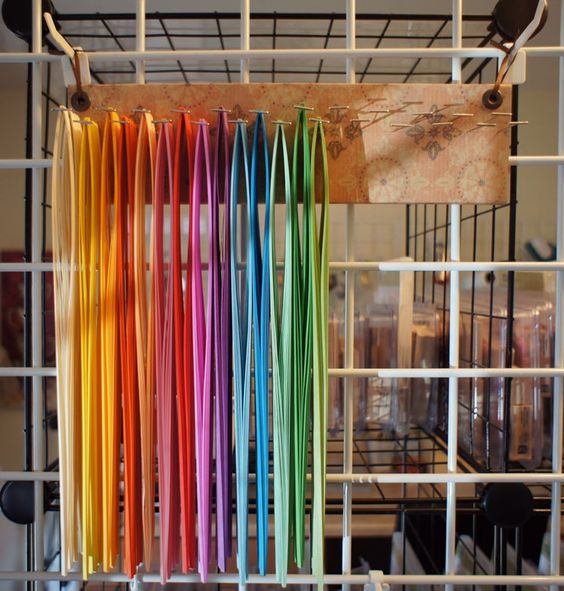
Image from TracyCreates.blogspot.com
Third is a solution which does not require creating a new apparatus as long as you can get your hands on a portable drying rack. I do believe, however, a baking rack on some kind of stand would be a fine substitute if you do not have a drying rack. This idea comes from Julia from Latvia. She simply took handfuls of binder clips, attached her quilling paper, and suspended the clips from the slats of the rack.
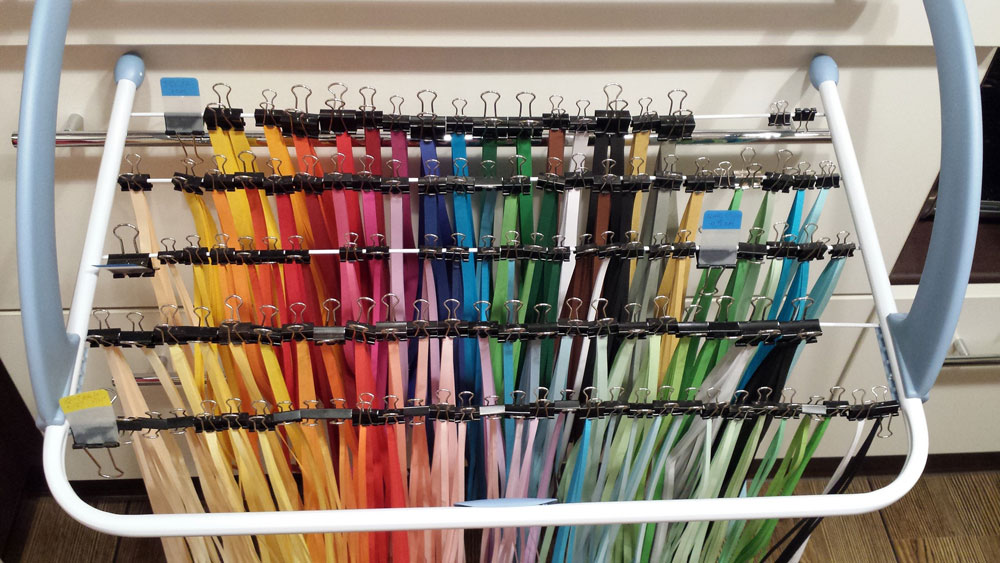
Image from Pinterest.com
Next is an ingenious idea that is not only a super storage method but also employs recycling!! SCORE! This fabulous and flexible idea is from Edyta of WonderCraftShop. She takes toilet paper or paper towel rolls and glues them together to create a honeycomb of quilling organization. It could hardly be any easier to do and is very effective. You can keep it small or expand as needed as you add to your collection.
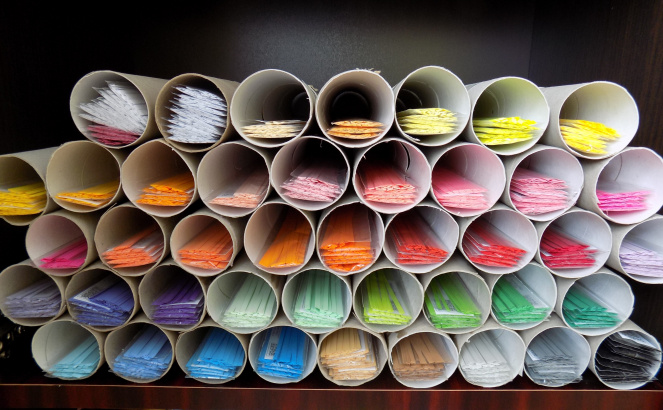
Image from WonderCraftShop.wordpress.com
These last two ideas are similar to my own storage method in that they keep your paper stored away rather than out in the open. First is a great method from CurlyQuills Jamie who uses large binders and sheet protectors to store paper. She keeps things orderly by including tags inside each pocket to indicate the exact contents. She notes that these are great for those on the go or for travel. While she used a food saver to divide her sheets into two pockets, you can find two-pocket sheet protectors online or in office supply stores fairly easily.
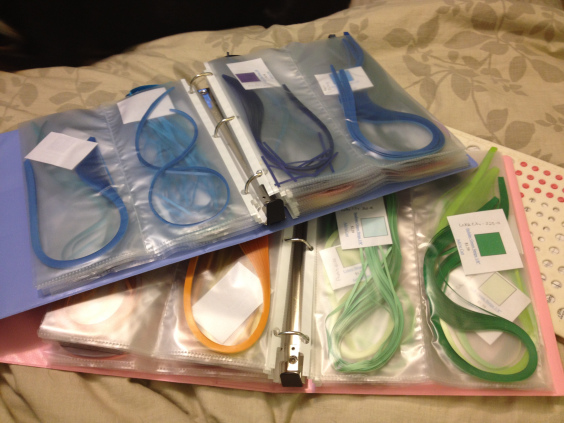
Image from CurlyQuills.com
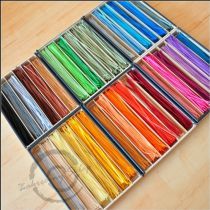
Finally we have this deliciously organized drawer of paper. I found this image on Pinterest and it appears on many quilling boards there. However, the link it goes to is clearly not where the file originated and I cannot for the life of me read the watermark on the photo. If it belongs to you PLEASE let me know and I will happily give you credit for this gorgeous display. Since I couldn't find the author of the photo I was prompted to think about how one might go about creating this type of organization. I found a great tutorial on YouTube by Janna Cookie which uses foam core board to create drawer inserts and dividers so you can create this look on your own. You can find it here and should easily be able to adapt to any size drawers you have in your craft room, closet, or wherever you'd like to store your paper!
If you have a different method for organizing and storing your paper I'd love to hear about it! Please leave a comment. Happy quilling!

Comments
Post new comment